During a deployment, Octopus Server first sends any required scripts and packages to Tentacle which writes them to the file system. The actual script execution then takes place in a different process called Calamari, which retrieves the scripts and packages directly from the file system.
On a Kubernetes agent, scripts are executed in separate Kubernetes pods (script pod) as opposed to in a local shell (Bash/Powershell). This means the Tentacle pod and script pods don’t automatically share a common file system.
Since the Kubernetes agent is built on the Tentacle codebase, it is necessary to configure shared storage so that the Tentacle Pod can write the files in a place that the script pods can read from.
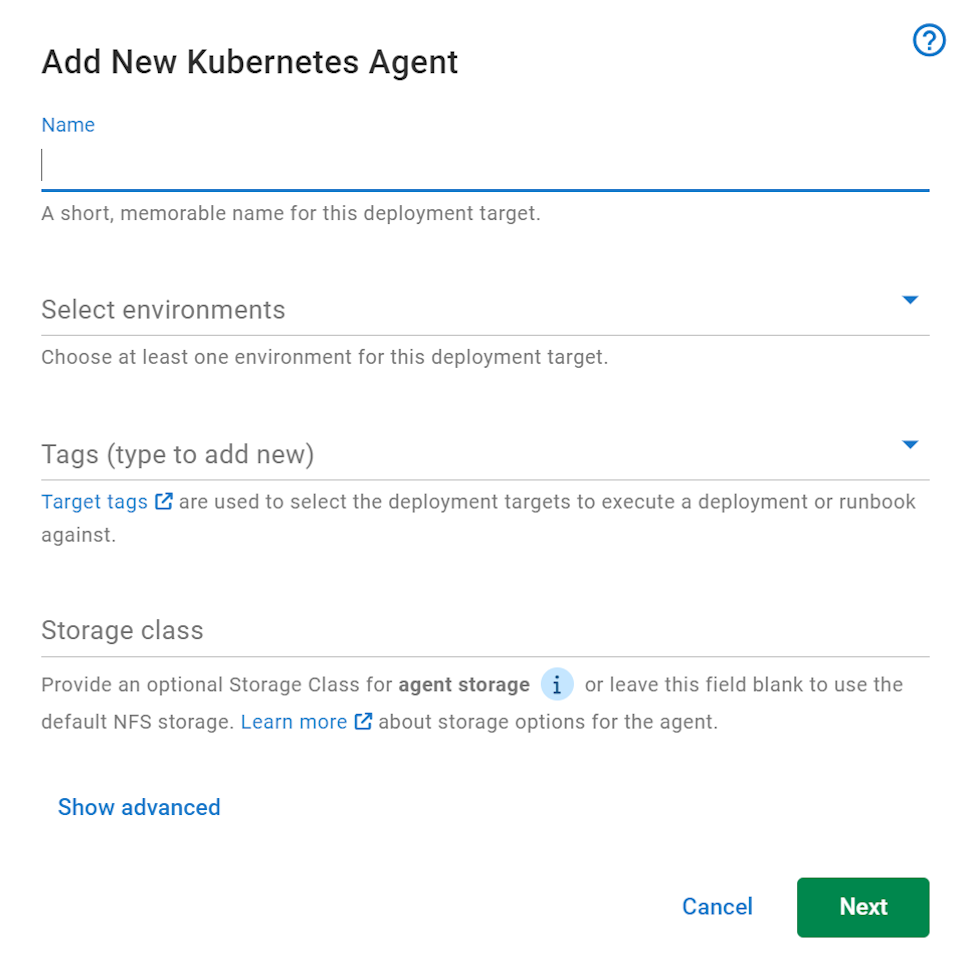
We offer two options for configuring the shared storage - you can use either the default NFS storage or specify a Storage Class name during setup:
NFS storage
By default, the Kubernetes agent Helm chart will set up an NFS server suitable for use by the agent inside your cluster. The server runs as a StatefulSet in the same namespace as the Kubernetes agent, and uses EmptyDir storage, as the working files of the agent are not required to be long-lived.
This NFS server is referenced in the StorageClass that the Kubernetes agent and the script pod use. This StorageClass will then instruct the NFS CSI Driver to mount the server as directed.
This default implementation is made to let you try the Kubernetes agent without worrying about installing a ReadWriteMany compatible StorageClass yourself. There are some drawbacks to this approach:
Privileges
The NFS server requires privileged access when running as a container, which may not be permitted depending on the cluster configuration. Access to the NFS pod should be kept to a minimum since it enables access to the host.
Red Hat OpenShift does not enable privileged access by default. When enabled, we have also encountered inconsistent file access issues using the NFS storage. We highly recommend the use of a custom storage class when using Red Hat OpenShift.
Reliability
Since the NFS server runs inside your Kubernetes cluster, upgrades and other cluster operations can cause the NFS server to restart. Due to how NFS stores and allows access to shared data, script pods will not be able to recover cleanly from an NFS server restart. This causes running deployments to fail when the NFS server is restarted.
If you have a use case that can’t tolerate occasional deployment failures, it’s recommended to provide your own StorageClass instead of using the default NFS implementation.
Custom StorageClass
If you need a more reliable storage solution, then you can specify your own StorageClass. This StorageClass must be capable of ReadWriteMany (also known as RWX) access mode.
Many managed Kubernetes offerings will provide storage that require little effort to set up. These will be a “provisioner” (named as such as they “provision” storage for a StorageClass), which you can then tie to a StorageClass. Some examples are listed below:
| Offering | Provisioner | Default StorageClass name |
|---|---|---|
| Azure Kubernetes Service (AKS) | file.csi.azure.com | azurefile |
| Elastic Kubernetes Service (EKS) | efs.csi.aws.com | efs-sc |
| Google Kubernetes Engine (GKE) | filestore.csi.storage.gke.io | standard-rwx |
If you manage your own cluster and don’t have offerings from cloud providers available, there are some in-cluster options you could explore:
Migrating from NFS storage to a custom StorageClass
If you installed the Kubernetes agent using the default NFS storage, and want to change to a custom StorageClass instead, simply rerun the installation Helm command with specified values for persistence.storageClassName.
The following steps assume your Kubernetes agent is in the octopus-agent-nfs-to-pv namespace:
Step 1: Find your Helm release
Take note of the current Helm release name and Chart version for your Kubernetes agent by running the following command:
helm list --namespace octopus-agent-nfs-to-pv
The output should look like this:

In this example, the release name is nfs-to-pv while the chart version is 1.0.1.
Step 2: Change Persistence
Run the following command (substitute the placeholders with your own values):
helm upgrade --reuse-values --atomic --set persistence.storageClassName="<storage class>" --namespace <namespace> --version "<chart version>" <release name> oci://registry-1.docker.io/octopusdeploy/kubernetes-agent`
Here is an example to convert the nfs-to-pv Helm release in the octopus-agent-nfs-to-pv namespace to use the octopus-agent-nfs-migration StorageClass:
helm upgrade --reuse-values --atomic --set persistence.storageClassName="octopus-agent-nfs-migration" --namespace octopus-agent-nfs-to-pv --version "1.0.1" nfs-to-pv oci://registry-1.docker.io/octopusdeploy/kubernetes-agent`
If you are using an existing PersistentVolume via its StorageClassName, then you must set the persistence.size value in the Helm command to match the capacity of the PersistentVolume for the PersistentVolume to bind.
Help us continuously improve
Please let us know if you have any feedback about this page.
Page updated on Monday, April 29, 2024