Eventually, the server hosting Octopus Deploy or the .NET version installed will reach the end of life. From both a practical and security point of view, continuing to run Octopus Deploy on unsupported software is not recommended. But upgrades take time, from configuring to testing. And there is a risk of downtime.
Recommended approach - leverage high availability
If you have a Data Center or a Server license, it is possible to upgrade the host OS or .NET without downtime and with minimal risk. Those licenses support an unlimited number of high availability (HA) nodes. If you do not have HA configured, this is an excellent time to do it. There are numerous benefits, including horizontal scaling, a more robust CI/CD pipeline, and low friction maintenance.
Please see our guide on configuring high availability.
Once high availability is configured, the process to upgrade the host OS will be:
- Create a new VM with the desired OS or .NET installed.
- Install Octopus Deploy on that new VM and add it as a new node.
- In the Octopus UI, go to Configuration ➜ Nodes, click the overflow menu (
...) next to the new node you just created, and set the task cap to 0.
The new node is now part of the HA cluster, but it isn’t part of the load balancer, so it doesn’t accept UI requests or processing tasks. At this point, you can slowly bring this new node online.
Test the Octopus UI on the new node
The first step is to test the Octopus UI to make sure it is responding correctly. To do that, you can follow this process. It is meant to take a little bit of time to reduce risk. If at any point something isn’t working, contact support@octopus.com.
- Navigate directly to the new VM and use Octopus Deploy as you’d regularly do for a few hours or days.
- Assuming everything is working as expected, add the new node into the load balancer. If possible, configure the load balancer to only use the new node for 10 or 20% of all requests.
- Assuming everything is working as expected, and no one is complaining, configure the load balancer to send traffic equally to all nodes. If you are unsure as to which node returned the UI request, you can check the network trace in your tooling; the node name is returned in the
Octopus-Noderesponse header. - If, at any point, something isn’t working right, remove the new VM from the load balancer to investigate further.
Have the new node process tasks
Now that the new node is hosting UI requests without issue, it is time to move onto processing tasks. Just like with the UI, the idea is to ease the new VM into processing tasks.
- Pick a time with minimal deployments. Change the task cap on all the existing nodes to 0, change the task cap on the new node to 5. Do a couple of test deployments and health checks.
- Assuming the new node had no problem processing tasks, change the task cap on the new node back to 1. Change the task cap on all the other nodes back to the original value. Wait a few days and keep an eye out for any failures.
- Assuming all the tasks the new node picks up are processed successfully, change the task cap to match all the other nodes.
- If, at any point, something isn’t working right, change the task cap back to zero to investigate further.
Removing older nodes
Wait a few days or weeks. If no oddities come up, go through the decommissioning process of the old nodes.
Alternative approach - clone instance
Configuring High Availability can take time. Or you might be on a license which doesn’t support HA. The other option is to clone the instance and migrate over.
Process
Creating a clone of an existing instance involves:
- Stop the current instance of Octopus Deploy.
- Download the same version of Octopus Deploy as your current instance.
- Installing that version on a new server and configure it to point to the existing database.
- Copying all the files from the backed up folders from the source instance.
- Test cloned instance. Verify all API scripts, CI integrations, and deployments work.
- Migrate over to using a new instance.
If anything goes wrong, stop the cloned instance, and start the old instance back up.
Downloading the same version of Octopus Deploy
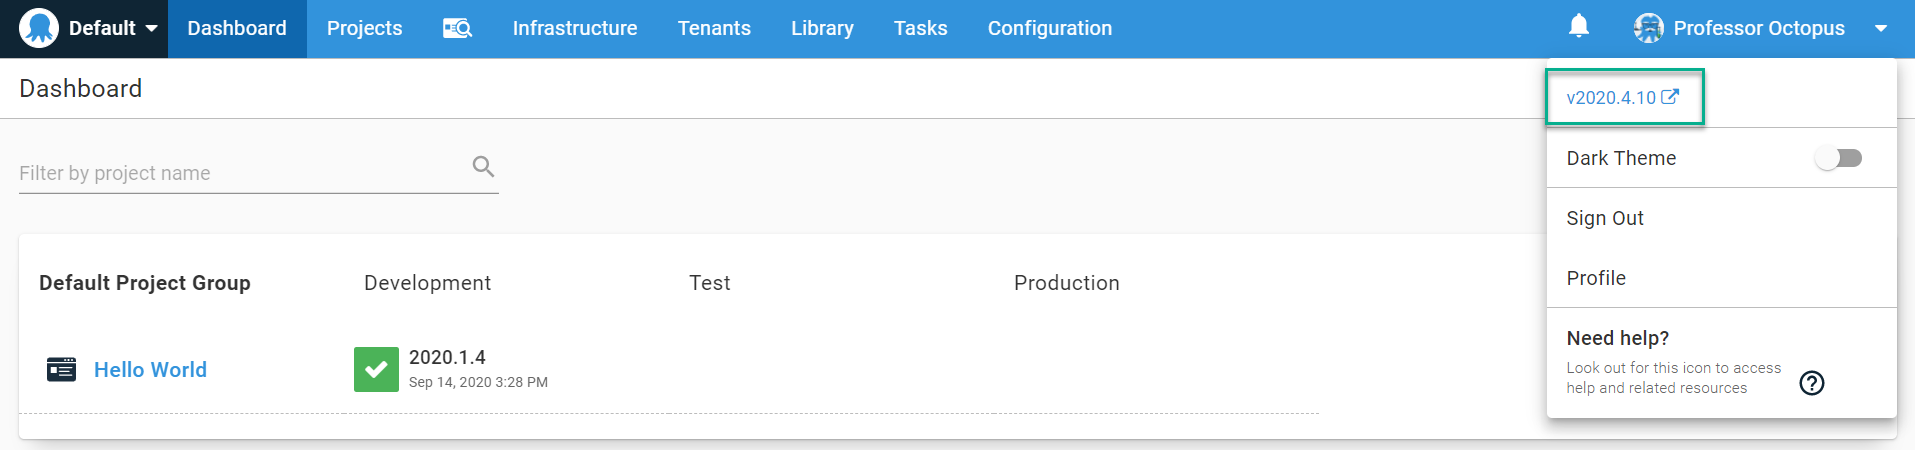
Migrating data from Octopus to a test instance requires both the main instance and test instance to be on the same version. You can find the version you are running by clicking on your name in the top right corner of your Octopus Deploy instance.
You can find all the previous versions on the previous versions download page.
Installing Octopus Deploy
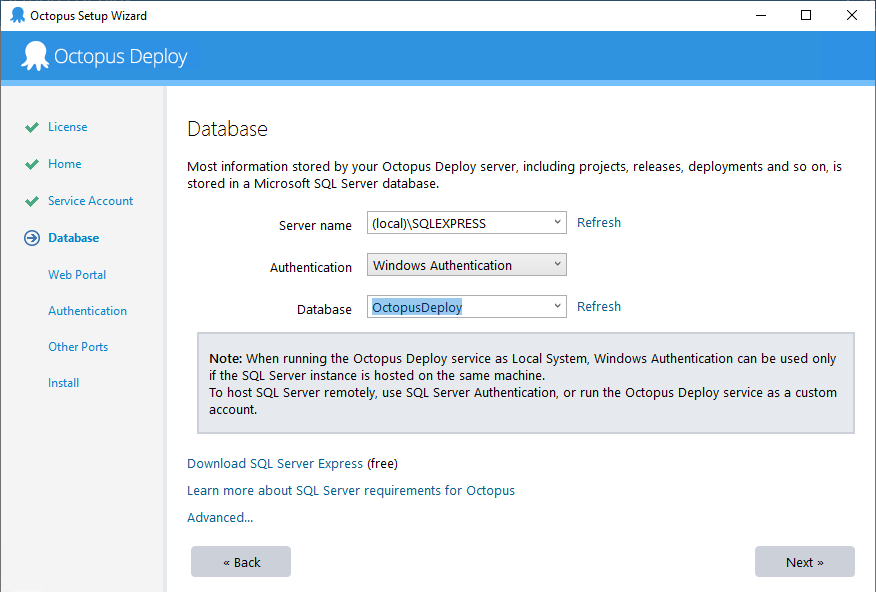
Run the MSI you downloaded to install Octopus Deploy. Once the MSI is finished, the Octopus Manager will automatically launch. Follow the wizard, and on the section where you configure the database, select the pre-existing database.
Selecting an existing database will ask you to enter the Master Key.
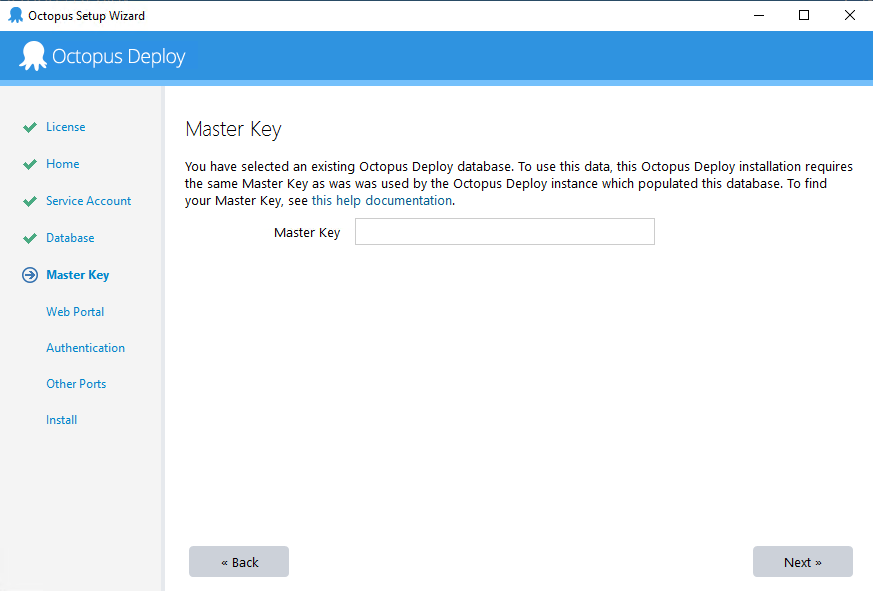
Enter the Master Key you backed up earlier, and the manager will verify the connection works.
Finish the wizard, keep an eye on each setting to ensure you match your main instance. For example, if your main instance uses Active Directory, your cloned instance should also be configured to use Active Directory. After the wizard is finished and the instance is configured, log in to the cloned instance to ensure your credentials still work.
Copy all the files from the main instance
After the instance has been created, copy all the contents from the following folders.
- Artifacts, the default is
C:\Octopus\Artifacts - Packages, the default is
C:\Octopus\Packages - Tasklogs, the default is
C:\Octopus\Tasklogs - EventExports, the default is
C:\Octopus\EventExports
Failure to copy over files will result in:
- Empty deployment screens
- Missing packages on the internal package feed
- Missing project or tenant images
- Missing archived events
- And more
Backup the server folders
The server folders store large binary data outside of the database. By default, the location is C:\Octopus. If you have High Availability configured, they will likely be stored on a NAS or some other file share.
- Packages: The default location is
C:\Octopus\Packages\. It stores all the packages in the internal feed. - Artifacts: The default location is
C:\Octopus\Artifacts. It stores all the artifacts collected during a deployment along with project images. - Tasklogs: The default location is
C:\Octopus\Tasklogs. It stores all the deployment logs. - EventExports: The default location is
C:\Octopus\EventExports. It stores all the exported event audit logs.
Any standard file-backup tool will work, even RoboCopy. Very rarely will an upgrade change these folders. The release notes will indicate if these folders are going to be modified.
Migrating over to a new instance
All the sensitive variables, certificates, and other items required to connect to your deployment targets are stored in the database. Assuming you are not using polling Tentacles (or if you are, the DNS name hasn’t changed), everything should work out of the box. Start running some tests on the new instance to make sure the new host OS or .NET version hasn’t broken anything.
Considerations
As you migrate your instance, here are few items to consider.
- Will the new instance’s domain name be the same or will it change? For example, will it change from https://octopusdeploy.mydomain.com to https://octopus.mydomain.com. If it changes and you are using polling Tentacles, you will need to create new Tentacle instances for the new Octopus Deploy instance.
- What CI, or build servers, integrate with Octopus Deploy? Do those plug-ins need to be updated? You can find several of the plug-ins on the downloads page.
- Do you have any internally developed tools or scripts that invoke the Octopus API? We’ve done our best to maintain backward compatibility, but there might be some changes.
- What components do you use the most? What does a testing plan look like?
- Chances are there are new features and functionality you haven’t been exposed to. How will you train people on the new functionality? If unsure, please contact us to get pointed in the right direction.
Polling Tentacles
A polling Tentacle can only connect to one Octopus Deploy instance. It connects via DNS name or IP address. If the new instance’s DNS name changes - for example, the old instance was https://octopusdeploy.mydomain.com with the new instance set to https://octopus.mydomain.com - you’ll need to clone each polling Tentacle instance.
Each polling Tentacle will need to be cloned on each deployment target. To make things easier, we have provided this script to help clone a Tentacle instance. That script will look at the source instance, determine the roles, environments, and tenants, then create a cloned Tentacle and register that cloned Tentacle with your cloned instance.
Any script that clones a Tentacle instance must be run on the deployment target. It cannot be run on your development machine.
Help us continuously improve
Please let us know if you have any feedback about this page.
Page updated on Sunday, January 1, 2023